Your YouTube channel is just like any other social media presence. It should represent you, who you are, and the types of videos you want to make and spread on YouTube. Your channel art should exemplify everything you want to do and everything you want to see on the platform, people should be able to see what you're all about with one visit. So how could you possibly make something that can show what you're all about in one visit? It's to make your own YouTube banner and channel art! To add, there is simply no better way to do it than in iPiccy Photo Editor.
Using all of the available tools, you have the potential to make a design that can express a true diversity of feelings, allowing you to capture the story and style of your YouTube channel. You'll truly have all the power and tools necessary to make a YouTube channel all your own. From the top to the bottom, we'll give you the ability and help to design a perfect YouTube banner or channel art.
Four Steps To Make An Easy YouTube Banner
The amount of steps involved for making a YouTube Banner is dependent on how much the any particular person wants out of their YouTube Banner. It can be as simple as four steps!

Step 1) Upload your chosen image to iPiccy.
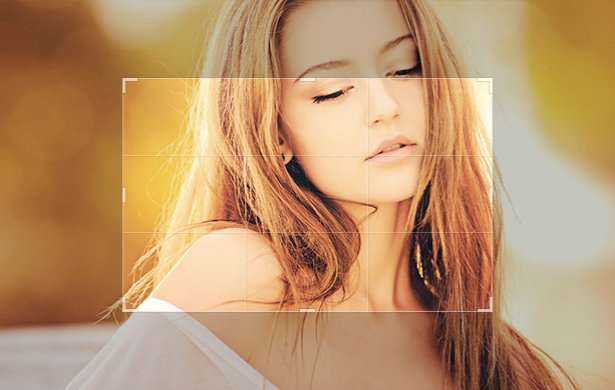
Step 2) The optimal picture size is 2560 x 1440, so if you have bigger than 2560 x 1440, select that size as your cropping dimensions.
Step 3) Move the highlighted area to the section you want to keep, and crop the rest out.
Step 4) Save! You're done.
Adding Extra To Your YouTube Banner
If you decide you want to add text or something of that nature we have to add an extra step before "Step 4". Should you decide you want to add things like effects, text, or even maybe a frame it would happen before "Step 4".

For Adding Text
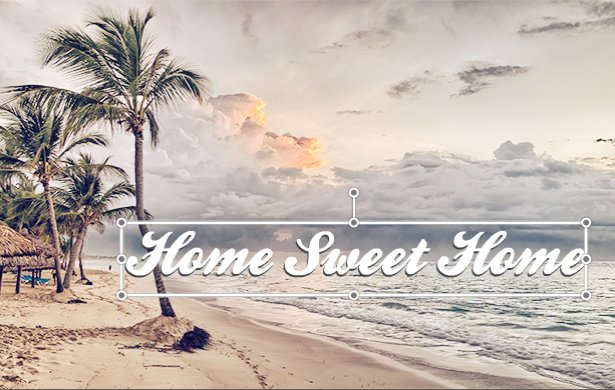
You open up the "Blender Tab" which is the fourth tab at the top, once you've done this you click on the text icon. From there you simply put in whatever text you may want on your YouTube Banner (I'd recommend your channel name), and then select a font. I suggest typing your text before your font, and this way you'll see the font change with your text as you scroll through them. After you've finished picking font and text, simply move it where ever you want by clicking the text and moving it.
Your YouTube Thumbnail Is Just As Important
While your YouTube Banner will likely gather most of the attention when people visit your channel, the secondary thing people will see and the thing they will see when you comment on other videos is your YouTube Thumbnail! So who is going to want to see your page if it's a blank default picture, a random body part, or just altogether uninteresting? So let's talk about how you can also make a proper YouTube Thumbnail.

Step 1) Upload your chosen image to iPiccy.
Step 2) We have the optimal size listed as "YouTube Thumbnail" in our cropping list.
Step 3) Move the highlighted area to the section you want to keep, and crop the rest out.
Step 4) Save! You're done.

Potentially you could add text, frames, and effects, but I would not recommend it as the YouTube Thumbnail is fairly small and you should probably leave all of that stuff for your YouTube Banner instead.
Make It Even Better
For Adding Photo Effects
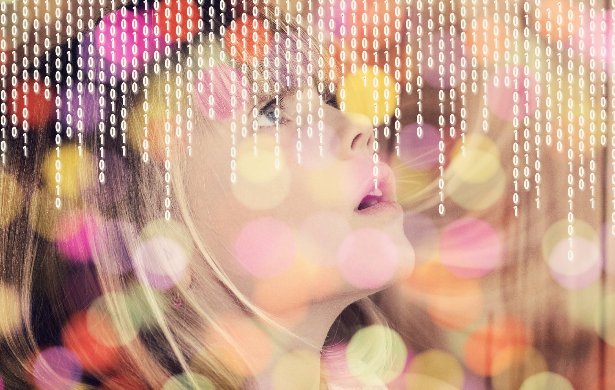
This is a very simple process of just clicking the second tab "Photo Effects" and from there picking what photo effect you want to use on your cover photo.

For Adding Frames
Another simple step of just clicking on the 6th tab and then selecting your chosen frame to accent your YouTube Banner.


