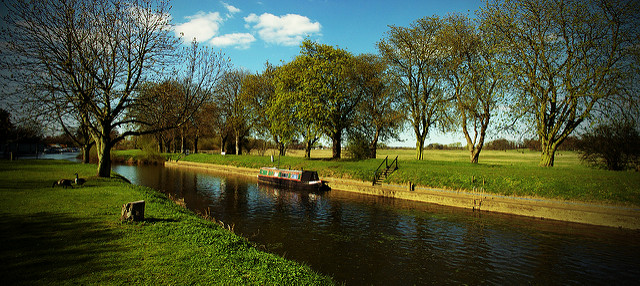
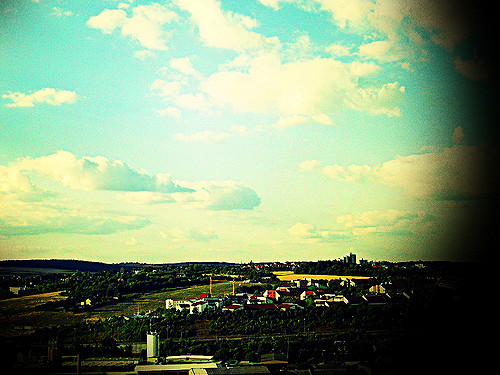
The Toolbox: Lomo Effect
The Toolbox is going to be a series of articles in which we go one by one discussing the tools available in iPiccy Photo Editor. We’ll talk about the strengths, weaknesses, and appropriate times to use these tools. Last time we talked about how to Add Text but today we’re talking about how to the Lomo Effect.
In short, photos that feature unique coloring, high contrast, soft focus, and dark vignettes. This is considered the lomo effect. The effect is inspired by photographs taken from an inexpensive Russian camera called the Lomo LC-A. The photos are produced by a color imbalance. As previously mentioned this is created by combining high contrast, soft focus, and dark vignettes. It often creates a very surreal, intense, and dreamy feeling so it is no wonder that this effect is a very popular one to try and create. The Lomo Camera Effect is right at your fingertips when you use iPiccy Photo Editor!
The Lomo Effect was first discovered outside of photo editing, and is still possible to do so without photo editing. There are numerous different tricks and tips to achieve this effect when shooting on your camera. However, since we’re talking about iPiccy, let’s talk about how you do this in iPiccy Photo Editor.
How To Use The Lomo Effect
Step 1. Upload your photo to iPiccy Photo Editor, the higher the quality the better.
Step 2. Select the “Photo Effects” tab at the top, this is the second tab.
Step 3. At the bottom of the “Vintage” section select “Lomo” and apply it.
Step 4. Save your photo!
Why Use The Lomo Effect
There isn’t a perfect reason to use the Lomo Effect. The Lomo Effect has multiple different interpretations and feelings when used. The effect frequently makes photos feel dreamlike or surreal. This can elicit many different and strong emotions, but isn’t necessarily always appropriate for your photo and what you might be trying to achieve. Knowing when to use this effect can be tricky, but it’s best to simply just experiment with it and see if you’re getting what you want out of that photo with this effect.


