The Toolbox: How To Make A Collage in iPiccy
The Toolbox is going to be a series of articles in which we go one by one discussing the tools available in iPiccy Photo Editor and we’ll talk about the strengths, weaknesses, and appropriate times to use these tools. Last time we talked about the Black and White Photo Effect, but today we’re talking about How To Make a Collage.
First things first though, let’s go over the steps of how to make a collage.
How to Make a Collage
1) Click Start Editing Now when you first open iPiccy.
2) Click Create a Collage and allow local storage (don’t worry this just makes the process of uploading multiple photos easier!)
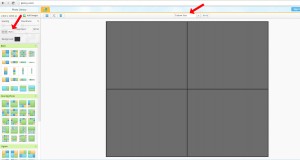
3) Select your Spacing and Roudness, this is the space between the pictures you use, and the sharpness of the photo borders respectively.
4) Select your Resolution/Proportions you can do this at the top left where it says Proportions. You can also select it at at the top middle where it says Custom Size. Your resolution will be based on where you plan on displaying the collage. If you’re looking to post it on Facebook, we have a guide for Facebook resolutions.
5) Next upload your photos, by clicking the Add Images button at the top left. I suggest adding more than you need as you don’t know which ones will make the collage and which won’t.
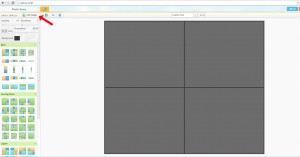
6) Select your Layout and you’re ready to go. Keep in mind if you decide to have one square bigger than the other it’ll be seen as the one to emphasize.

7) After that it’s as simple as dragging and dropping your photos in the slot that you want them in!
When to Make a Collage
So when should we make a collage? Collages are great for remembering a significant period, commemorating an event, or creating a community feeling. It’s often why you see them at weddings, anniversaries, college brochures, camps, and in some cases funerals.
It seems pretty obvious, at this point you’re itching to start making your own collages to honor memories, trips, first times, and community moments. So get to it and start editing!


